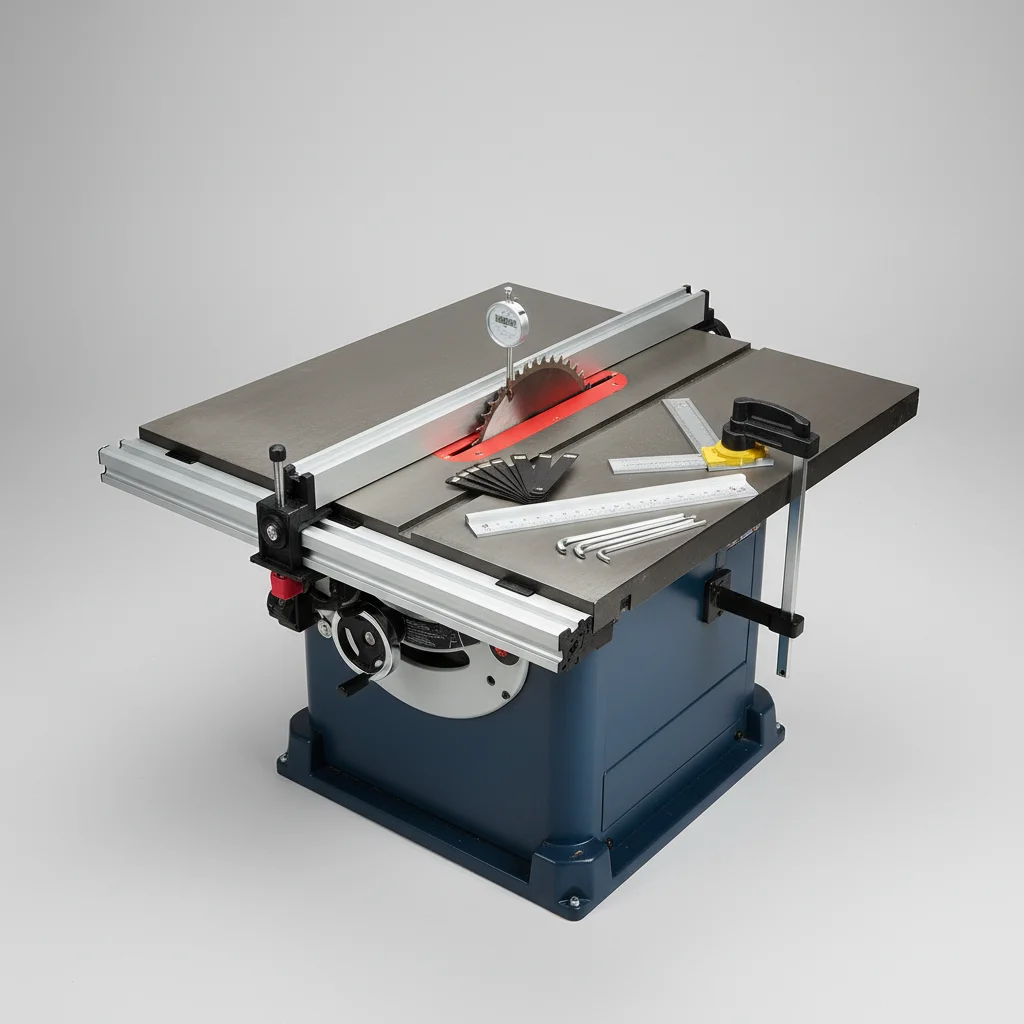
Achieving flawless cuts with your table saw hinges on precise alignment. There are five critical steps to ensure your table saw is perfectly calibrated, leading to safer operation and superior woodworking results. These steps involve checking and adjusting the blade, fence, miter gauge, and the saw’s overall squareness, which collectively eliminate common issues like burning, binding, and inaccurate dimensions.
Why Table Saw Alignment Matters for Precision
Proper table saw alignment is not just about accuracy; it’s fundamental for safety and the longevity of your tools. A misaligned blade can cause excessive friction, leading to wood burning, kickback, and premature wear on the blade and motor. Furthermore, an improperly aligned fence or miter gauge will consistently produce angled or non-parallel cuts, wasting material and compromising the quality of your projects. Investing time in these adjustments will save you frustration and money in the long run.
Step 1: Check and Adjust Blade Parallelism to the Miter Slot
The first and most crucial step is to ensure your table saw blade is perfectly parallel to the miter slot. Use a dial indicator or a reliable straightedge to measure the distance from the miter slot to the blade at both the front and back of the blade. Any discrepancy indicates a need for adjustment. Most table saws allow you to loosen bolts underneath the table that secure the trunnion assembly, enabling you to pivot the blade until it’s parallel. Aim for a tolerance of 0.001 to 0.002 inches for optimal precision.
Step 2: Align the Rip Fence Parallel to the Blade
|
Our Picks for the Best Table Saw in 2026
As an Amazon Associate I earn from qualifying purchases.
|
||
| Num | Product | Action |
|---|---|---|
| 1 | PROXXON Table Saw FET for Precision Cuts in Wood, Non-Ferrous Metals, Plastics - Adjustable Blade, Extendable Table, Low Noise Motor, 110-120V AC - 37070 |

|
| 2 | 4" 60W MINI ELECTRIC TABLE SAW BENCH TOP GREAT ELECTRIC HOBBY CRAFT TABLE SAW DIY Power Tool Work Bench Stand Circular 2 PIECES Blades |
|
| 3 | VEVOR Band Saw, 9-Inch, Woodworking Benchtop Bandsaw with 1/2 HP Motor, 3.5-Inch Max Cutting Height, 11.8 x 11.8 in Cast Aluminum Table, 0-45° Tilting Range, with Miter Gauge, Fence, for Woodworking |
|
| 4 | Woodworking table saw, can be installed in the operating table, 25kg saw blade can be adjusted up and down 55X36X40 cm |
|
| 5 | Lapidary Rock Saw for Cutting Rocks, 750W Mini Lapidary Equipment for Jewelry and Gemstone Polishing, 110V Table Saw Grinder Machine with Polishing Kit for Jade Agate Wood and Beeswax |
|
| 6 | POWERTEC Push Block and Push Stick Set Fits Table Saws, Router Tables, Band Saws & Jointers, Dual Ergonomic Handles w/Max Grip, Wood Pusher Reduces Kickback & Increases Safety. 5PK (71009V) |
|
| 7 | Skil 3550-02 7-Inch Wet Tile Saw with HydroLock Water Containment System |
|
| 8 | SKIL 7-Inch Wet Tile Saw - 3540-02 |
|
| 9 | POWERTEC Portable Small Workbench with Vise, Imprinted Ruler and Protractor Scale, Folding Sawhorse/Worktable and 4 Bench Dogs for Woodworking Projects (MT4006V) |
|
| 10 | SKIL 3601-02 Flooring Saw with 36T Contractor Blade, Red and black |
|
Once your blade is parallel to the miter slot, the next step is to align your rip fence. The rip fence must be parallel to the blade to prevent binding and burning during cuts. Use the same method as with the blade: measure the distance from the blade to the fence at the front and back. Adjust the fence mechanism until these measurements are identical. Some fences have micro-adjustment screws, while others require loosening the mounting bolts. A slight toe-out (the back of the fence being 0.001-0.002 inches further from the blade than the front) can sometimes help prevent kickback, but perfect parallelism is generally preferred.
Step 3: Square the Blade to the Table at 90 Degrees
For accurate crosscuts and dados, your blade must be perfectly square to the table at a 90-degree angle. Use a high-quality machinist’s square or a digital angle gauge. Raise the blade to its maximum height and place the square against the blade and the table. Adjust the blade’s tilt mechanism until there is no gap between the square and the blade. Make small adjustments and recheck, as even a slight deviation can lead to noticeable errors in your joinery.
Step 4: Calibrate the Miter Gauge for Accurate Angles
The miter gauge is essential for precise angled cuts. While often overlooked, its calibration is vital. Use a reliable protractor or a five-cut test to verify its accuracy. For the five-cut test, make four cuts on a piece of scrap wood, rotating it 90 degrees after each cut, then make a fifth cut to remove a thin strip. If the strip is perfectly parallel, your miter gauge is accurate. If not, adjust the miter gauge’s stop screw until it is. Always double-check with a known accurate square or angle reference.
Step 5: Check and Adjust Table Flatness and Extension Wings
While not strictly an
